
The Rig UI
Currently we use CloudRig to build our rigs. CloudRig offers a lot of flexibility in setup, but also forces certain things to behave a certain way. Contact me (Wyatt) if there's something that feels wrong or you would like improved. Depending on what it is, we might be able to adjust it.
CloudRig documentation: studio.blender.org
CloudRig Download: CloudRig — Blender Extensions
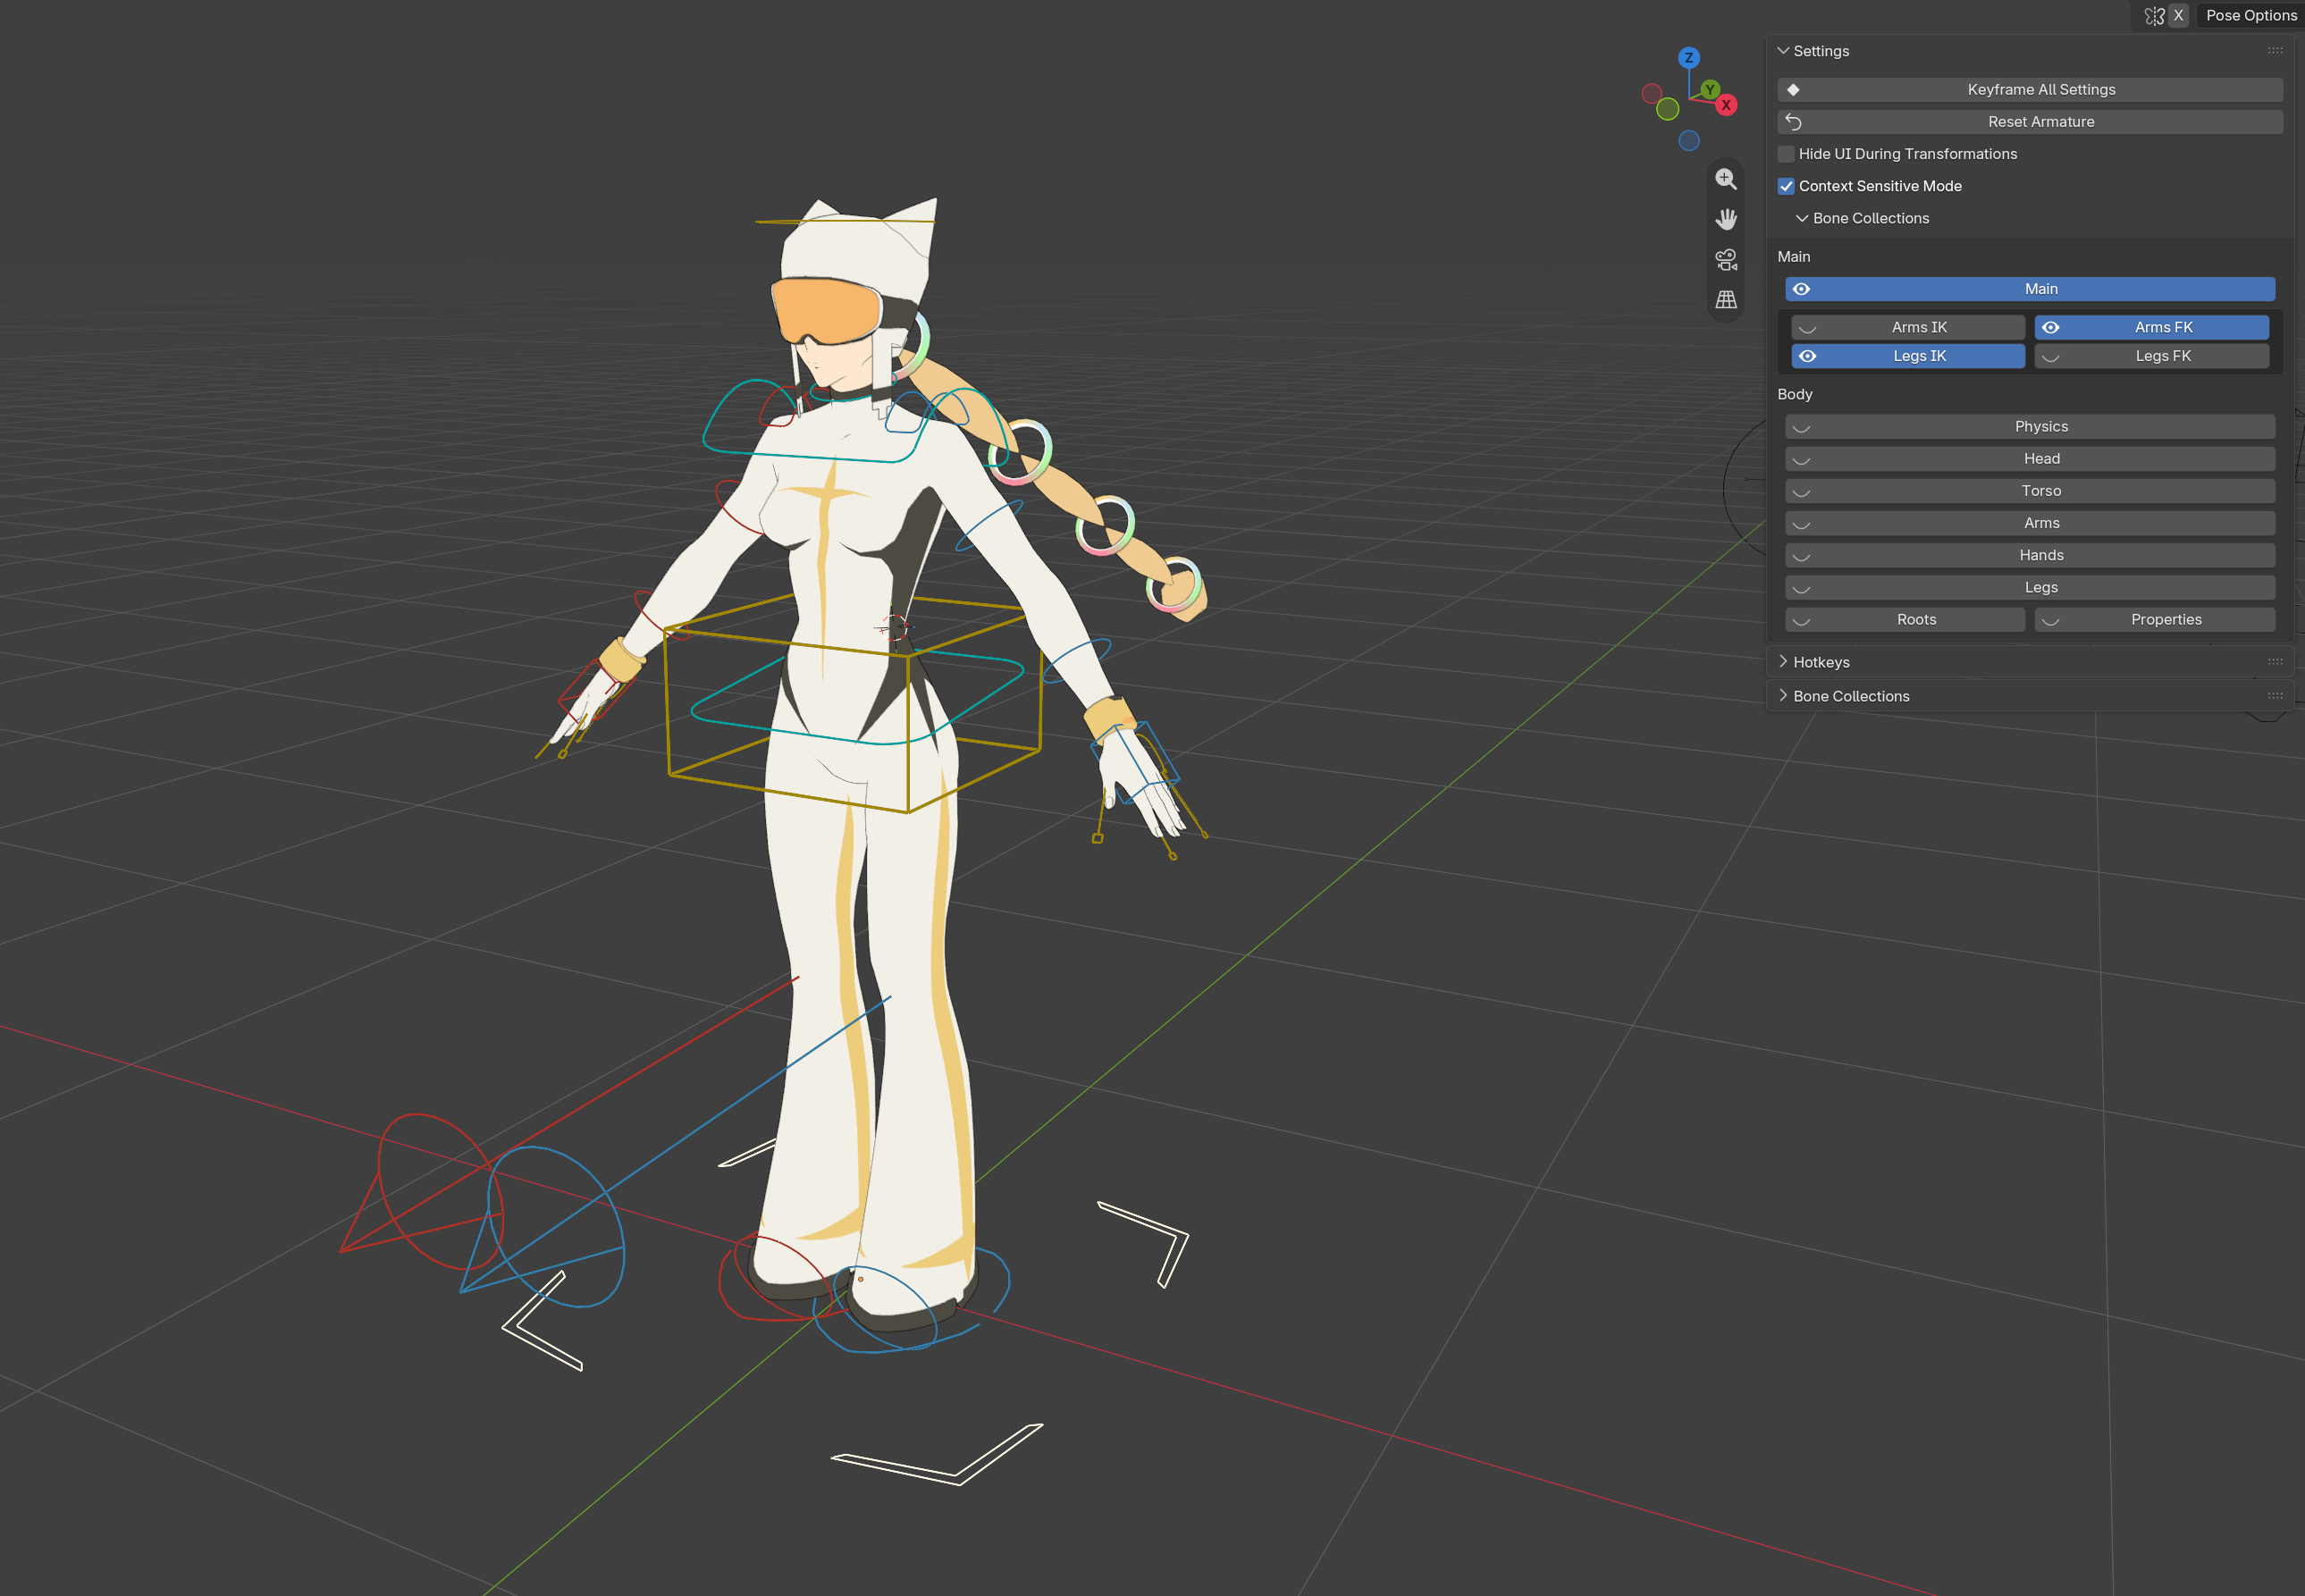
Default Rig View (Main):
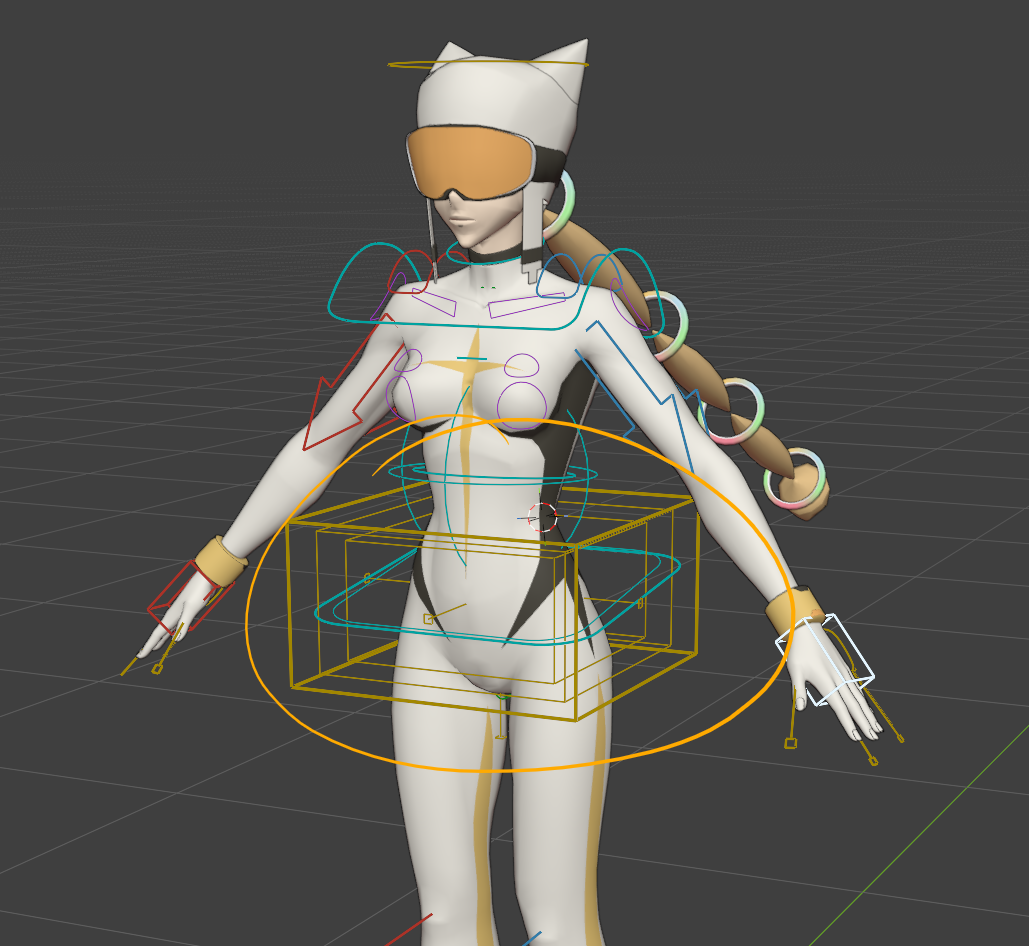
The Main bone group for the rig includes the most-used controls for body mechanics. This is a simplified view which should allow you to do 80% of the animation you need to do with a character.
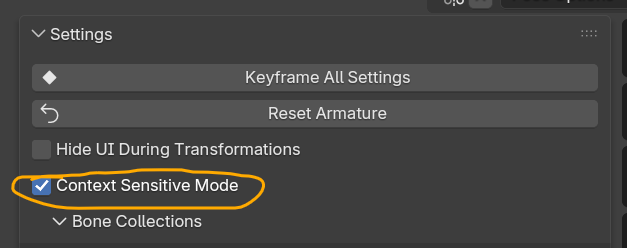
Context Sensitivity:
Cloud rig has an optional toggle for context-sensitive menus. IT IS HIGHLY RECOMMENDED TO TURN THIS ON!!
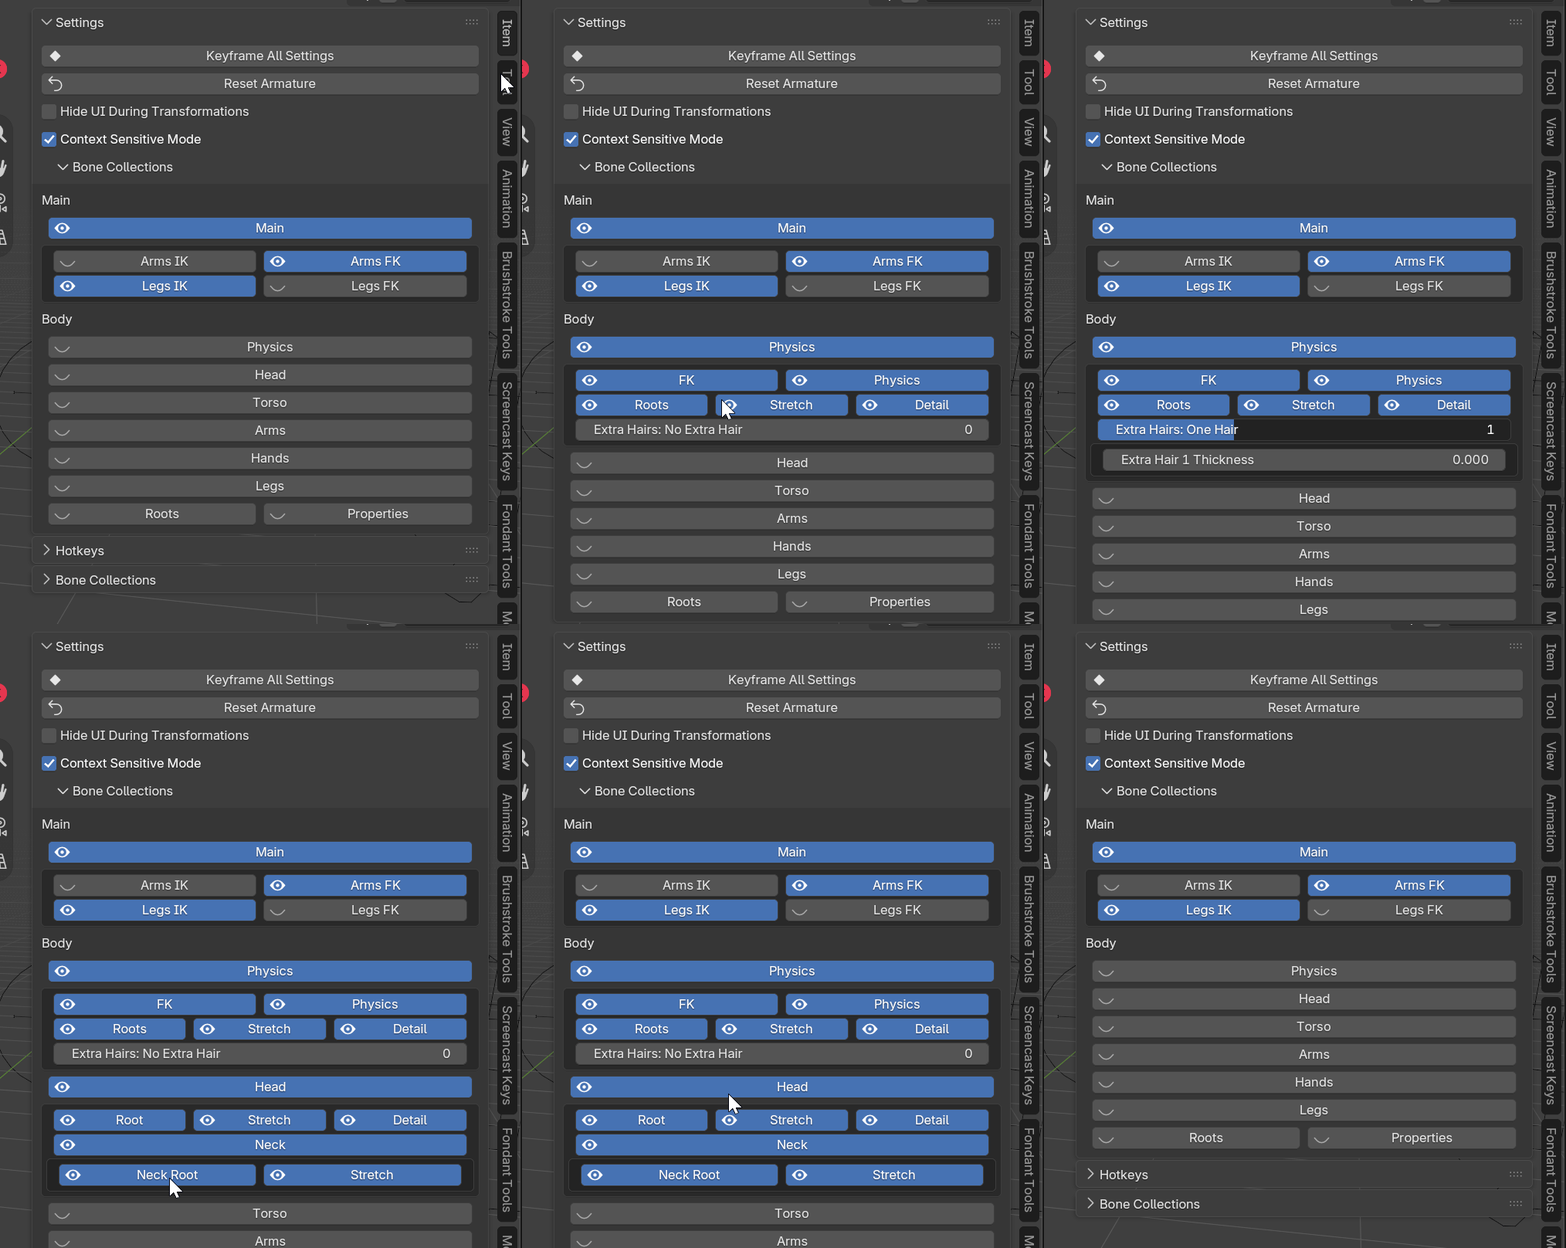
Bone Groups:
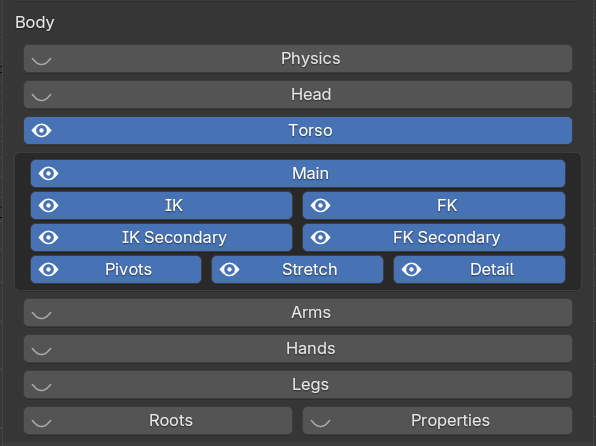
Bone Groups can be toggled by clicking them in the CloudRig sidebar.
Bone Groups are hierarchical, meaning that invisible groups will collapse down to save space.
IK/FK Switching:
When you select an IK or FK bone, options for IK/FK switching will appear in the menu.
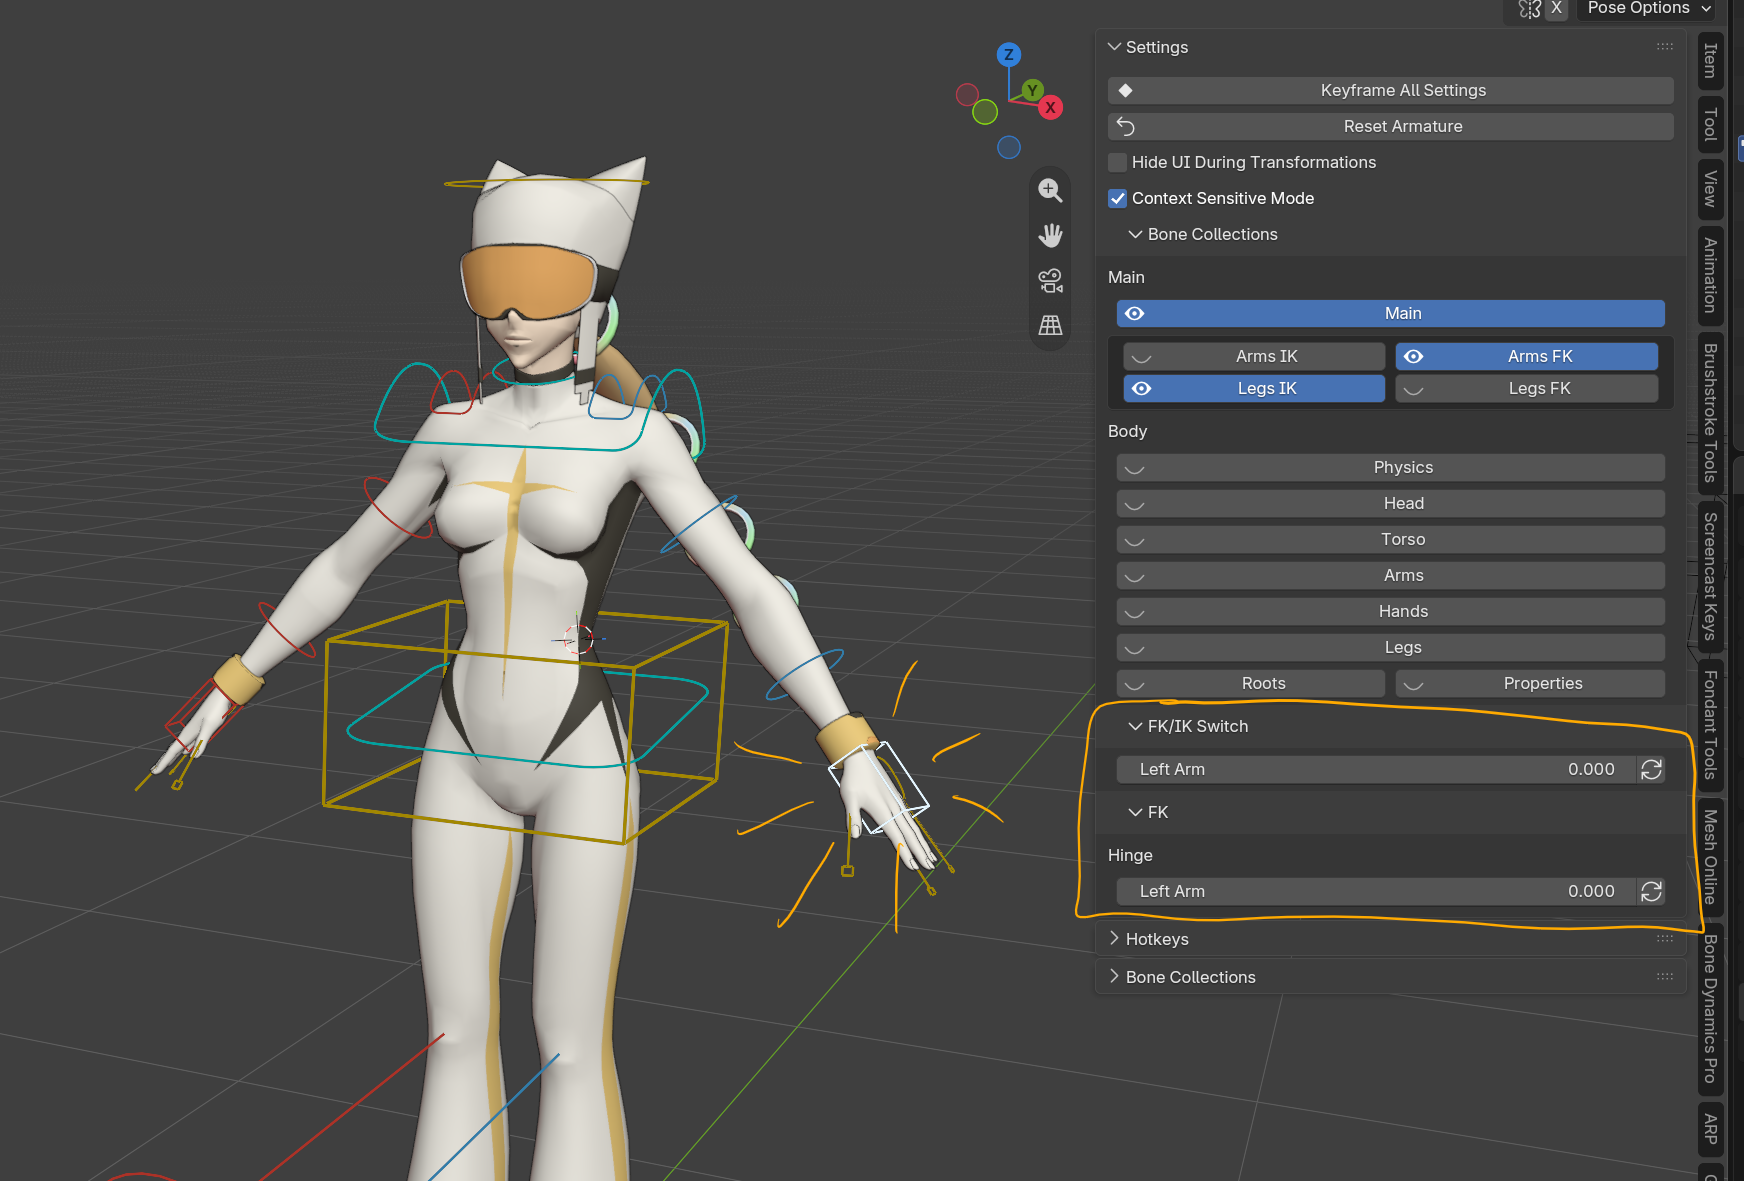
After adjusting the slider, select the IK or FK bone and you may see new options appear. For example, the IK options are below.
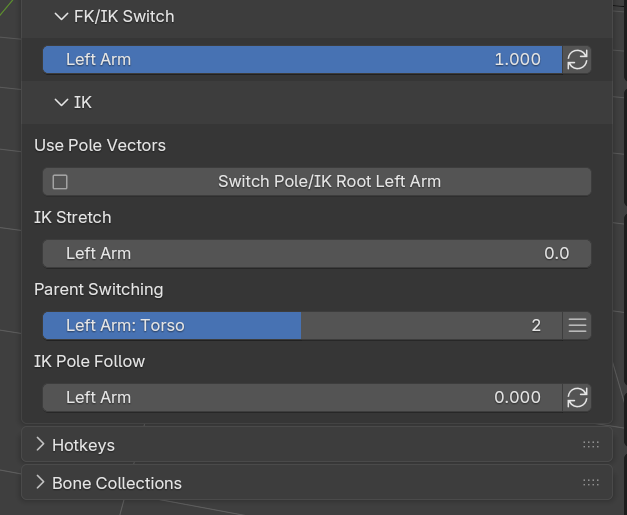
- FK/IK Switch
Switches between IK and FK - Use Pole Vectors
Toggles the IK mode between Pole Vectors and IK Masters. This should be set BEFORE you begin animating. - IK Stretch
Allows the limb to be pulled past its maximum realistic distance - Parent Switching
Slide or press the hamburger menu to change the parent of the selected bone.
Note: To bake animation from IK to FK or vice-versa, press the hamburger menu. - IK Pole Follow
Force the Pole Vector to be parented to the Hand or Foot controller.
Hierarchy of Detail
Most Bone Groups follow a hierarchy of detail. The levels are as follows:
- Master
- macros and bones that otherwise control large areas. The top level bones - Main
- bones you'll interact with 90% of the time - Detail
- bones that affect a very small area, and/or are meant to simulate muscle or help define silhouette - Stretch
- bones that adjust the cartoony stretch of a limb or area - Micro
- bones that affect only a couple vertices
Not every Group will have all of these layers. Some Groups may have special layers.
For example: The Torso Group has a "Pivots" section, which contains multiple extra layers of Torso Roots, as well as a COG offset "Pivot" bone.
Physics
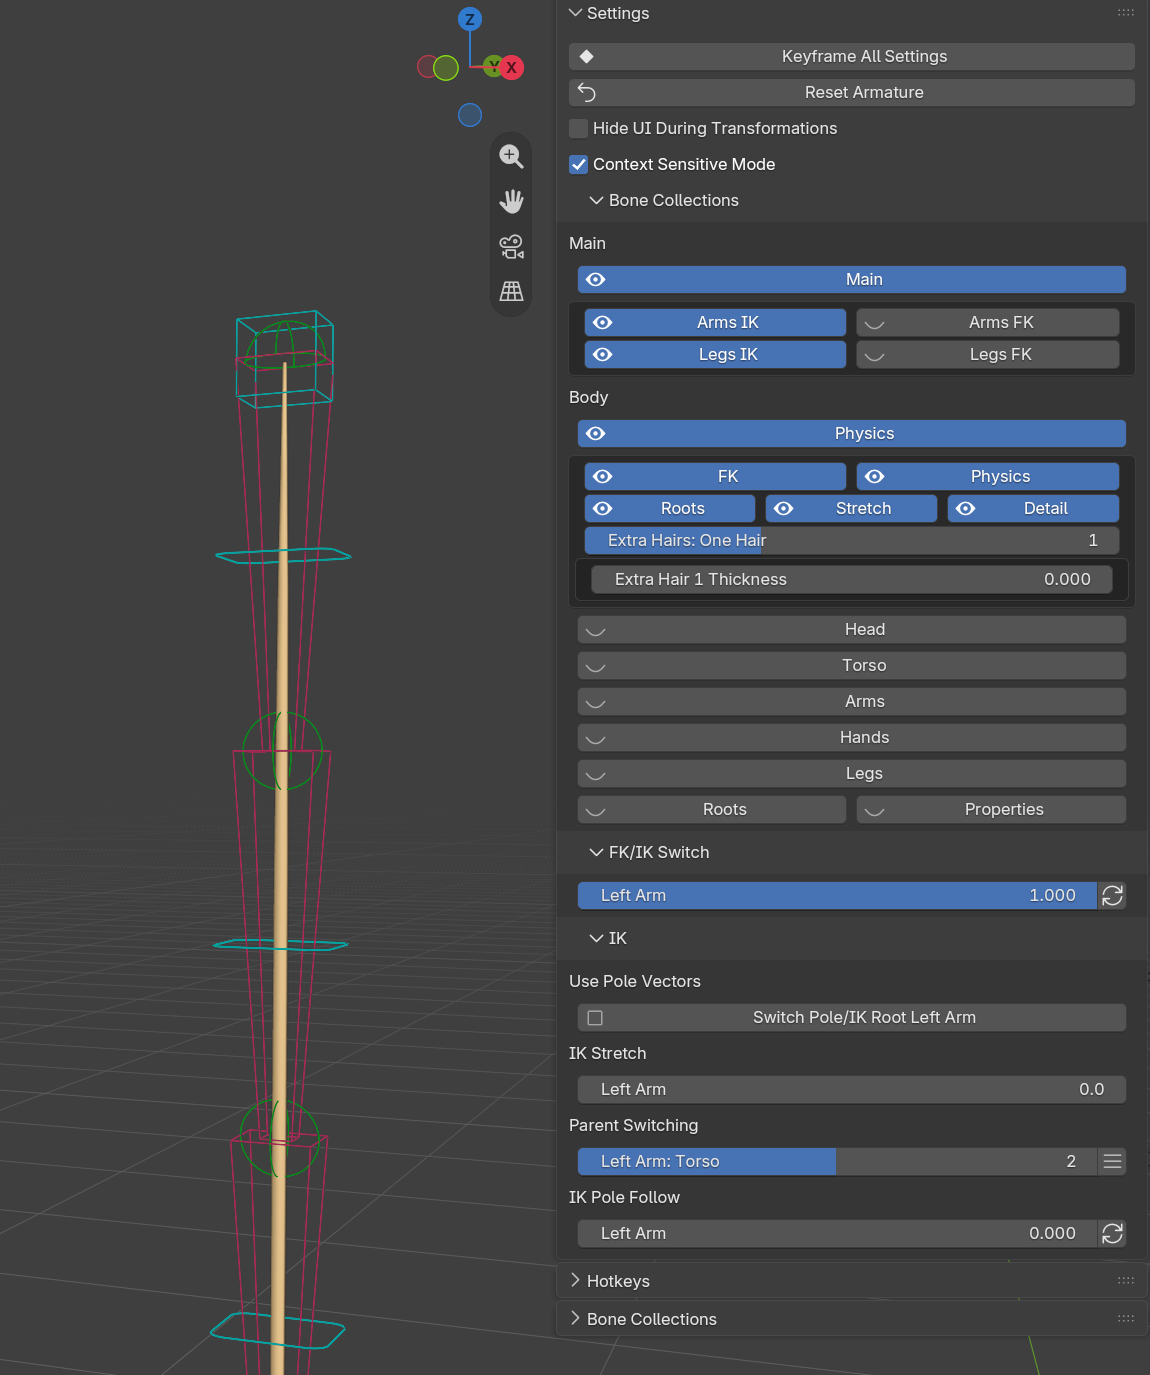
The physics chains are mean to be used with an addon such as GooPhysics or Bone Dynamics.
The purple "PSX" bones are meant to be simulated. After simulation, use the blue FK bones to adjust and fix collisions/look. You can also use the green Stretch bones as additional tweaks.
No comments to display
No comments to display